BMW NineT Forum banner
61 - 80 of 661 Posts
Pastrana FMX

@dave
Did you finish your bar mods? I`m really keen to see some pics!
Depending on your report with the Pastrana FMX I might go the same way.

Thanks.
PS: I still have this little voice in my head that tells me ABM clip-ons are nice too.
 
Discussion starter · #62 ·
@dave
Did you finish your bar mods? I`m really keen to see some pics!
Depending on your report with the Pastrana FMX I might go the same way.

Thanks.
PS: I still have this little voice in my head that tells me ABM clip-ons are nice too.
Hang on in there! Yes the mods have been completed.

At this moment I'm starting to upload the photos of the bar swap, bar end indicator and bar end mirror install. The FMX bars are definitely a big improvement over standard. Stay tuned - almost there!
 
Discussion starter · #63 ·
Handlebar Transplant - Part 1

Recently spent an evening removing the handlebars and replacing them with Pastrana FMX black bars. This gives some idea of how I did it for those of you that might be interested....

Here we go....

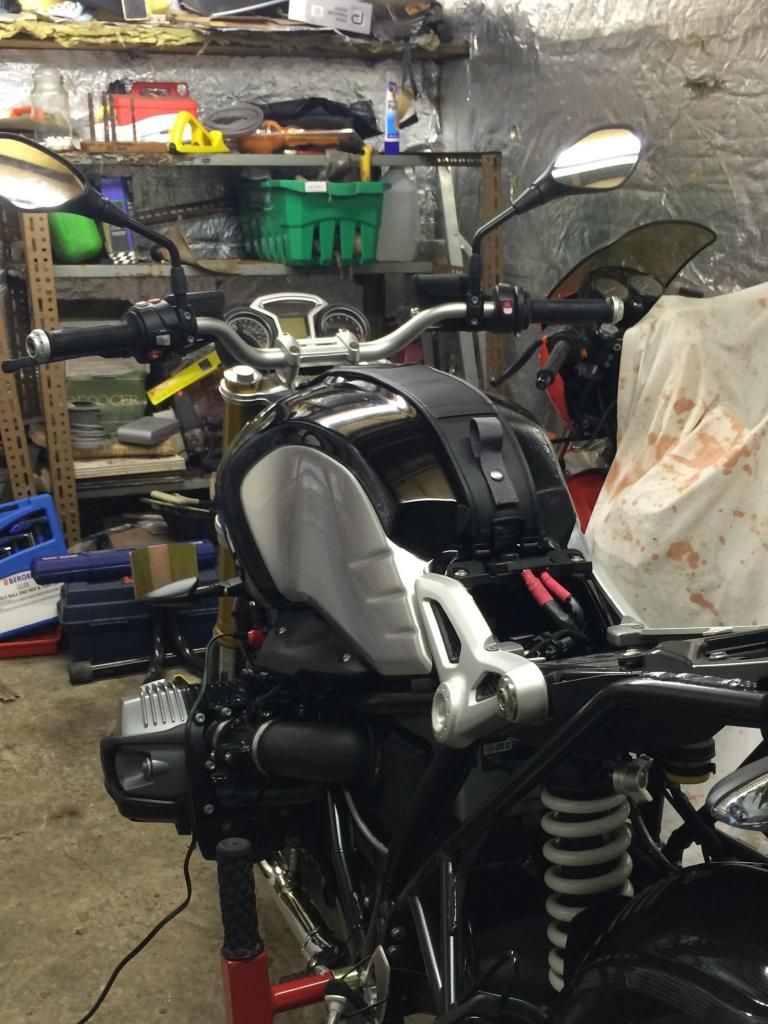
1. Bug antennae mirrors off!


2. Endcaps off! Needed a fairly heavy haul on the wrench but no major issues.


3. Here's the weapon for removing the small torx screws in the switchgear:T8 Torx driver.


4. Unbolt the brake lever assembly clamp and let the brake assembly move out of the way slightly to give you room to easily remove the switchgear. Remove brake side switchgear - 2 screws. The bottom half of the switchgear (not shown - already removed) should come away easily.


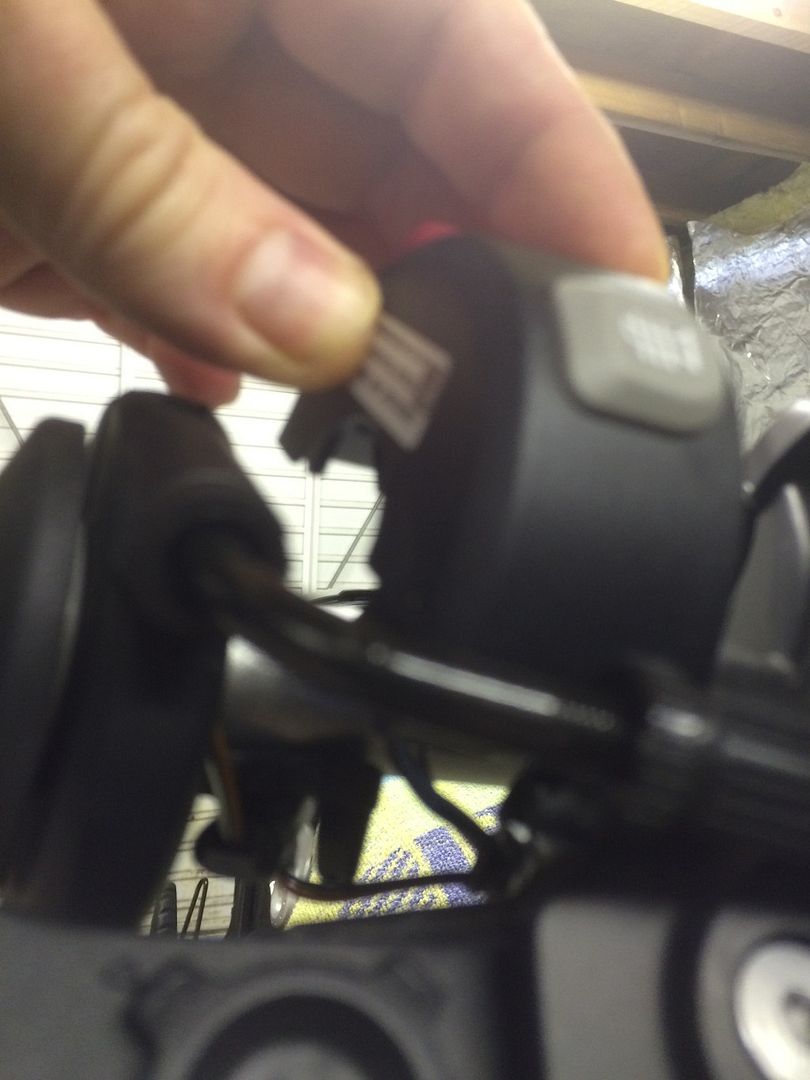
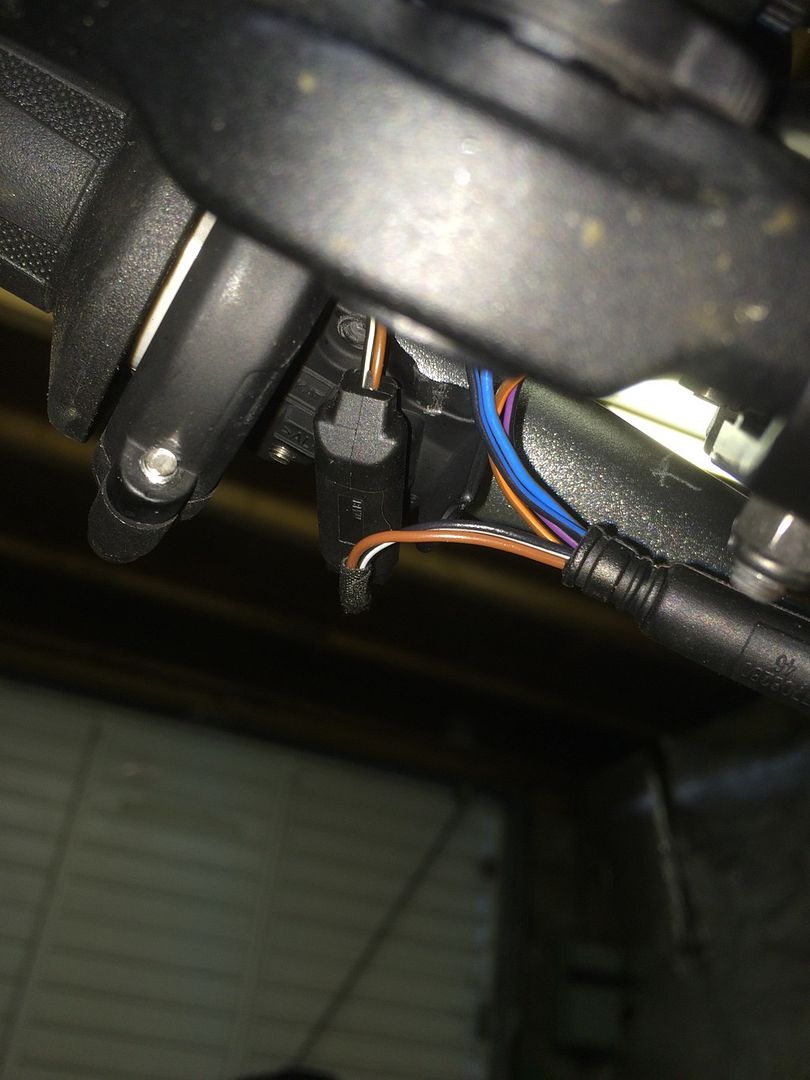
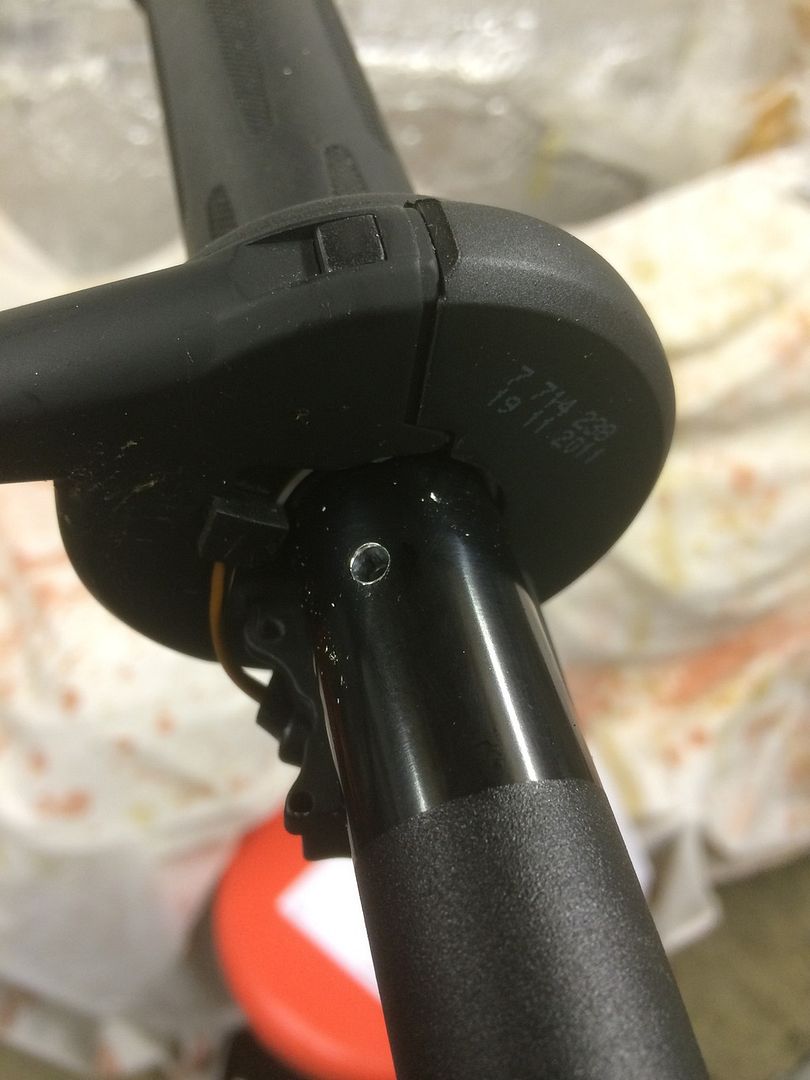
5. If you have Heated Grips, unplug the connector underneath the bar - note you can see the silver tip of the control locator bolt to the left of the plug.


Unplugged!


6. Lift away the switchgear and move it gently to the side. You can now see the bolt you need to remove


7. A T10 torx driver is all you need!


8. Now shift attention to the clutch side. Remove the clamp bolts holding the clutch lever assembly to the bar and let it gently hang below the bar. Pull back the handlebar rubber grip and you'll see the screw that needs to be removed.


9. Remove the clutch side switchgear by unclipping the cover plate underneath the bar at the side where the wires enter. Gently unplug the wires. Slide the clutch grip and switchgear off the handlebar.


10. Loosen the handlebar clamp. Be careful to watch out for the bar moving suddenly. If you haven't already covered the tank with something nice, soft and protective, now is the time to do it! Try to support the bar.


Undo the clamp completely and then move the bar a little to the clutch side and this will give you enough room to slide the throttle grip off the end of the bar... Let the throttle grip hang to the side of the bike.

11. Look - no handlebars! lol


12. Another item for the OEM parts box!


13. Install the new bars (in my case Pastrana FMX) and tighten up the handlebar clamp bolts just enough to hold the bars in place.


Stand back and admire the work so far.... You are about half way there!


More to follow tomorrow........................... ;)

PS It's 1AM here so please excuse any typing or spelling mistakes. :eek:
 
Discussion starter · #64 ·
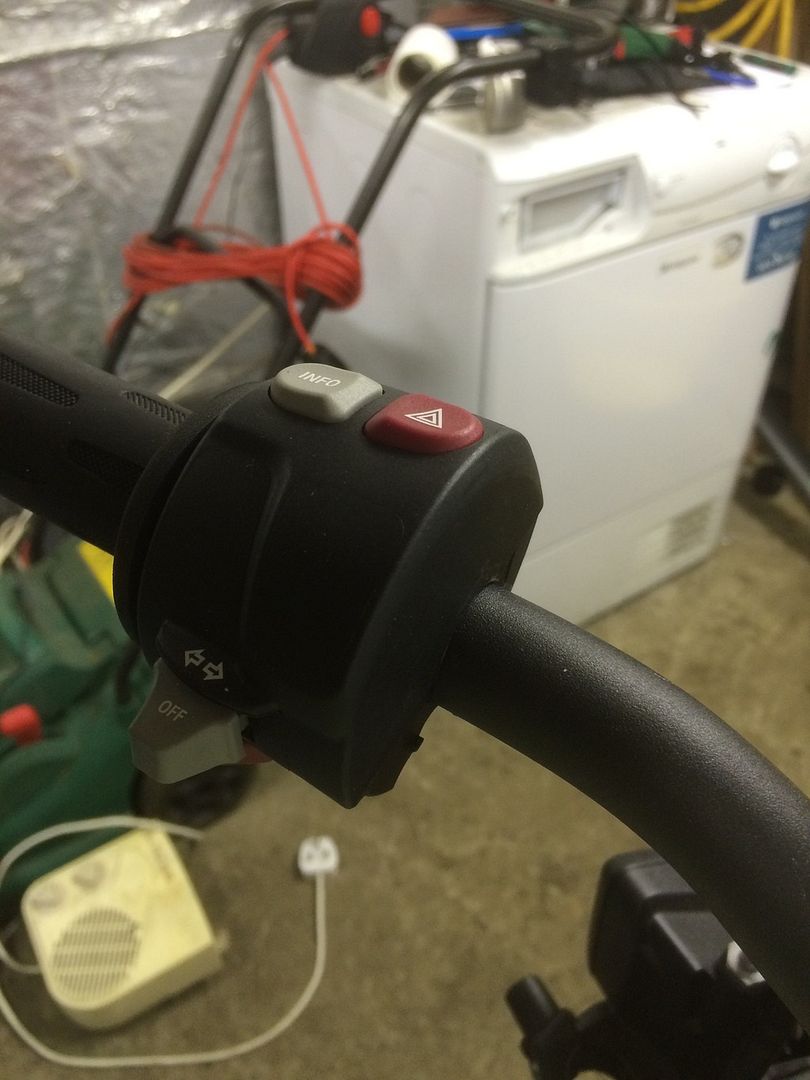
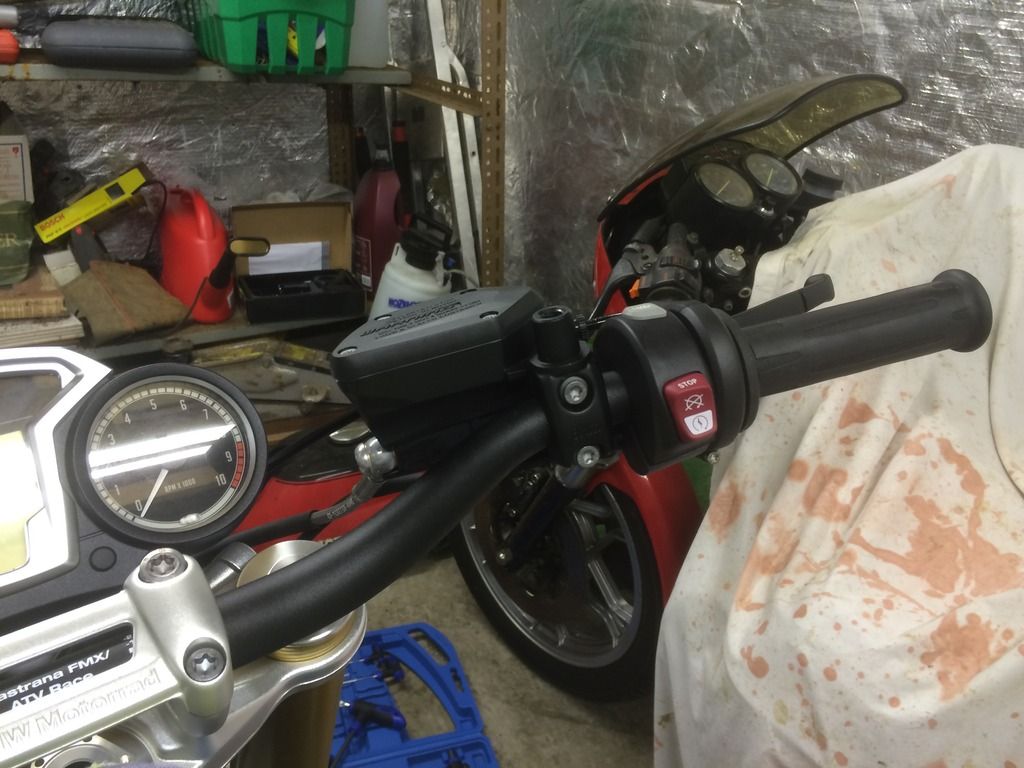
Ahaa! Did anyone notice the slight mistake in the pics above? :D

A black handlebar made a sneaky appearance before time! I had two pics - one the silver bar with the switch ready to come off, and another with the black bar and the switchgear just slid on! D'oh!

Either way the only difference really is the colour of the bar. Still illustrates the point well-enough.....

All seeing it was approaching 1AM when I was writing the post! ;)
 
Discussion starter · #66 ·
Handlebar Transplant - Part Deux (2)

OK after finishing admiring the work so far (and a swift single malt) it's time to crack on and get the controls back in place.


1. I loosely fitted the controls on the bars to see how things would bolt back together and check the orientation of the bar for riding position. Once I got the handlebar position about right I tightened the handlebar clamps some more to prevent movement during drilling and other work. I then marked the drilling holes on the bars. I used a sharp nail to make the mark on the black bars through the bolt holes in the grips/controls.


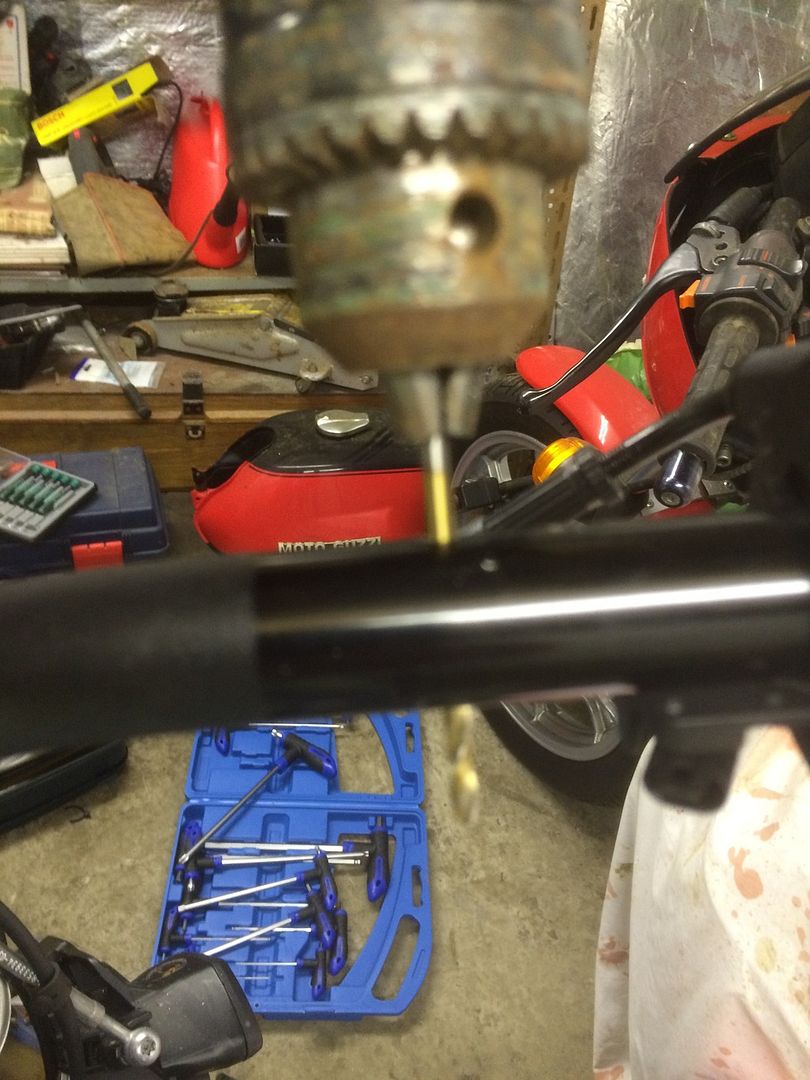
2. The brake side is the trickiest to drill as the bolt hole in the control mounting bracket is on the underside of the bar. I started by removing the brake lever assembly, however I left the throttle twist grip on the bike but slid it to the far end of the bar to prevent damage when drilling. A small pilot hole was then drilled from the underside through the bar (taking care to get a nice straight drill hole) and then I used the pilot hole to drill from the top downwards using the drill exit hole on the top of the bar. The way I tackled this was to drill through the top wall of the handlebar first, stop, then look from the underside and place the very tip of the drill on the centre of the pilot hole before drilling through the bottom wall of the handlebar. A bit of a contortion to do this and life would have been soooo much easier if I had a drill on a stand! Here's a pic of the drilling from above with my trusty 30 year old Black and Decker!


One hole drilled, one to go!


3. For the Pastrana FMX bars the clutch side has a lot of serrations designed to hold hand grip firmly in position. Great for Motocross bikes but a pain in the bum for R NineT owners! Makes easily fitting the hand controls a real struggle. Different folk have found different ways of trying to solve this, but after someone on the forum suggested sanding the serrations down a bit I decided that was the solution for me! I got some 80 grit emery-type paper, masked off the bar beyond the serrations to prevent any damage and sanded down the serrations a bit. OK the handlebar now looks a total mess but the sanding work is completely hidden when the grip is slid on. I took things slowly and kept trying to fit the grip after each sanding session. On the third attempt I got a nice and snug sliding fit that only required moderate pressure to install/remove the grip.

4. Clutch side is a lot easier to drill. Just position the controls where you want them and mark the hole and drill straight through the bars. I still recommend drilling a pilot hole to make the drilling of the right size of hole easier.

Anyone recognise this photo from before? lol As you can see the sanding work is totally hidden by the controls.


5. If you aren't fitting bar end indicators or mirrors then the job is pretty-much done! Just bolt everything back together and bask in the satisfaction of your handiwork! If like me you are fitting bar-end indicators and mirrors there's still some way to go.


Stay tuned for Part 3 - Bar-end gadget installs - the Motorcycle Strikes Back! ;)
 
Discussion starter · #68 ·
Part 3: Bar-end gadget installs - the Motorcycle Strikes Back!

Now that the handlebars, grips and switches were nicely bolted to the bike it was time to tackle the bar end indicator and mirror installs. This is where I started to get cocky and took my eye off the ball and the motorbike bit back..... ;)

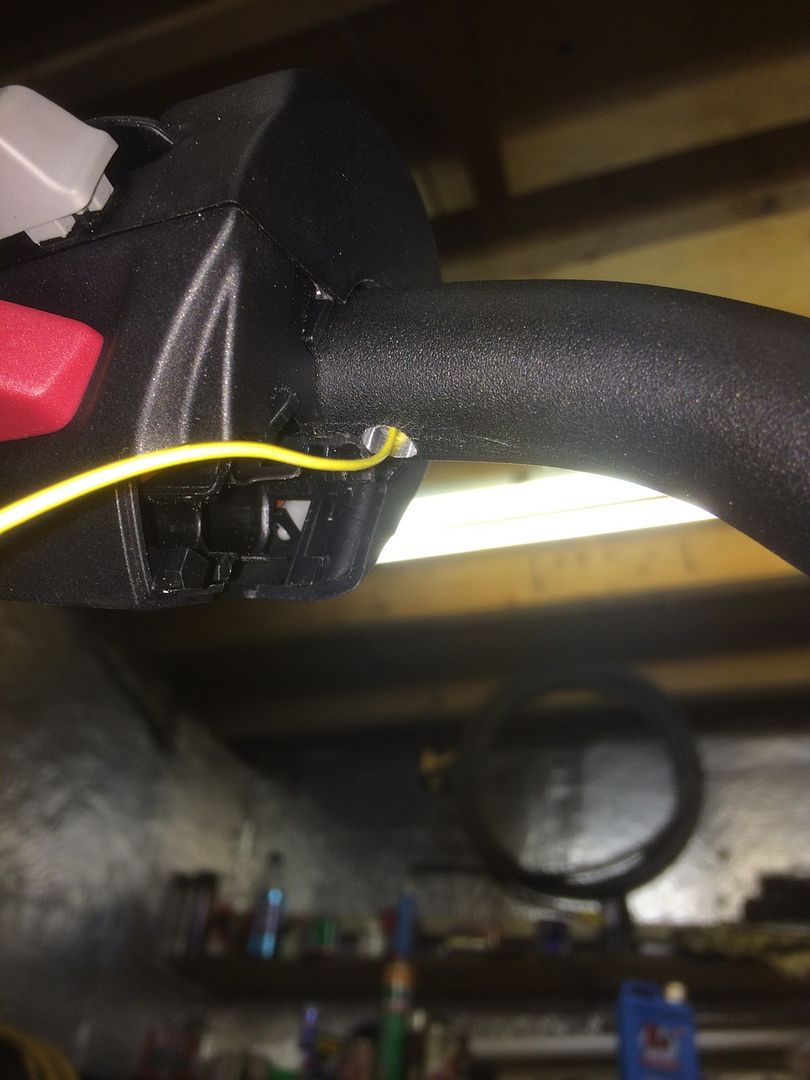
1. Firstly an exit hole was drilled for the indicator wires. I decided to drill them as close to the wire exits from the switchgear as possible and under the bar so I could run the cables together with the other handlebar cables from the switchgear and hydraulic/throttle lines. There is some scope for drilling the hole inside where the switchgear is (which would give a neater install) but it would be difficult to get just right so I decided against...

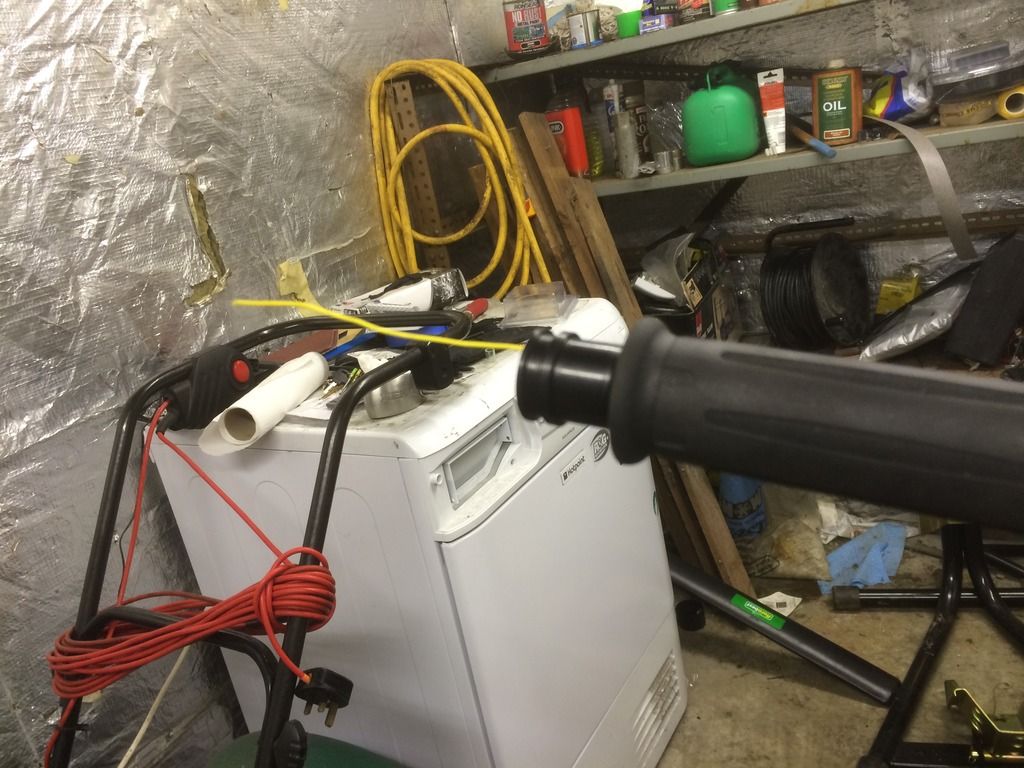
2. I then ran a pilot wire from the drilled hole and out of the end of the bar. Thin and stiff insulated wire with a multi strand conductor I found worked best for this. I had some multicore alarm wire lying around do I stripped a length of it down and used one of the wires.


Feed in the wire here......


And out it should pop here!


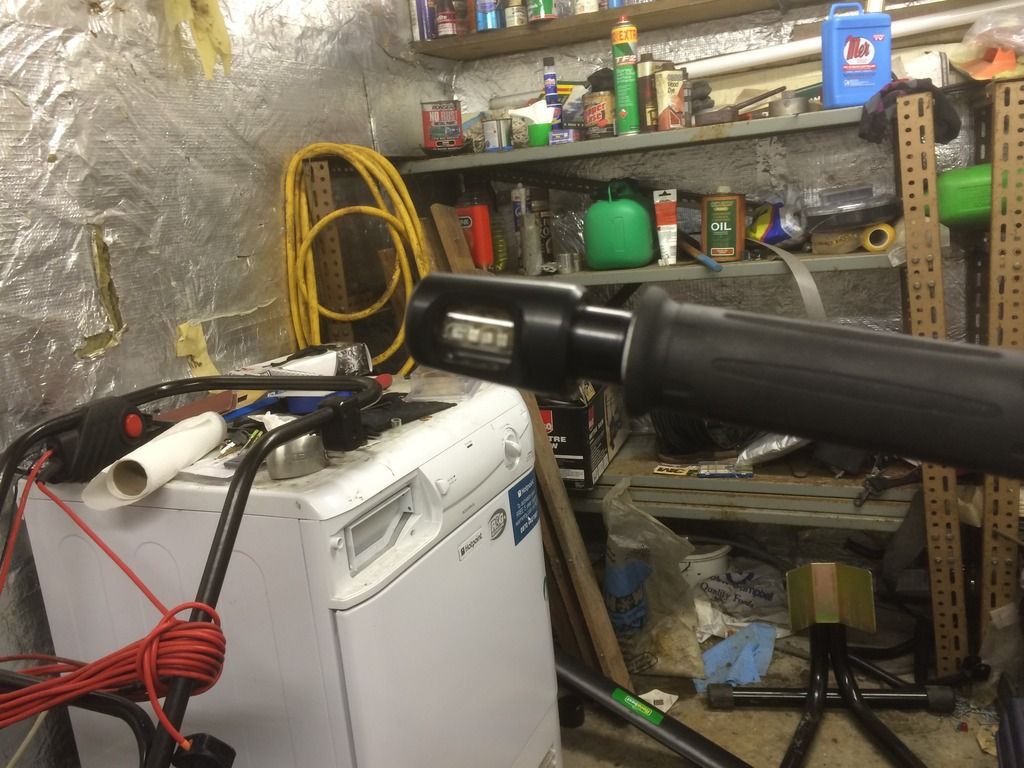
2. Then it was time to bolt on the Oberon bar end LED indicator extensions in order for the LED bar end indicators to be used together with bar end mirrors. The extensions were designed for Oberon's own mirrors but they fit the PSR Felipe mirrors too (and probably many others).

The tricky bit is to keep the pilot wire in place so it is ready to pull the indicator wires through the handlebar.

As the Oberon LED extension uses a hollow bolt the idea was to thread the pilot wire through the bolt. Install the bolt/collet into the end of the bar. Then very gently and carefully pull the wire back into the bolt (from the wire end under the bar) until the wire goes far enough inside the hollow bolt that you can get an allen key into the bolt head to tighten the bar end extensions. Then push the wire back out of the bolt ready to attach the indicator wires. This went unusually smoothly! I started to get cocky and let my guard drop! Anyone see where I'm going wrong yet?


3. I then installed the LED indicator and doesn't it look nice? Trouble is I'm an idiot and had forgot to install the bar end mirror before installing the indicator extension!!!!! AAARGHHH!


Sooooooooooo I retired to the house to lick my wounds (time for another wee whisky) and then (with a nice warm feeling inside now) came back for round two!

The indicator and extension was removed. The bar end mirror was fed onto the extension and the whole procedure for feeding the wire through the hollow bolt was repeated. Thankfully without further problems!

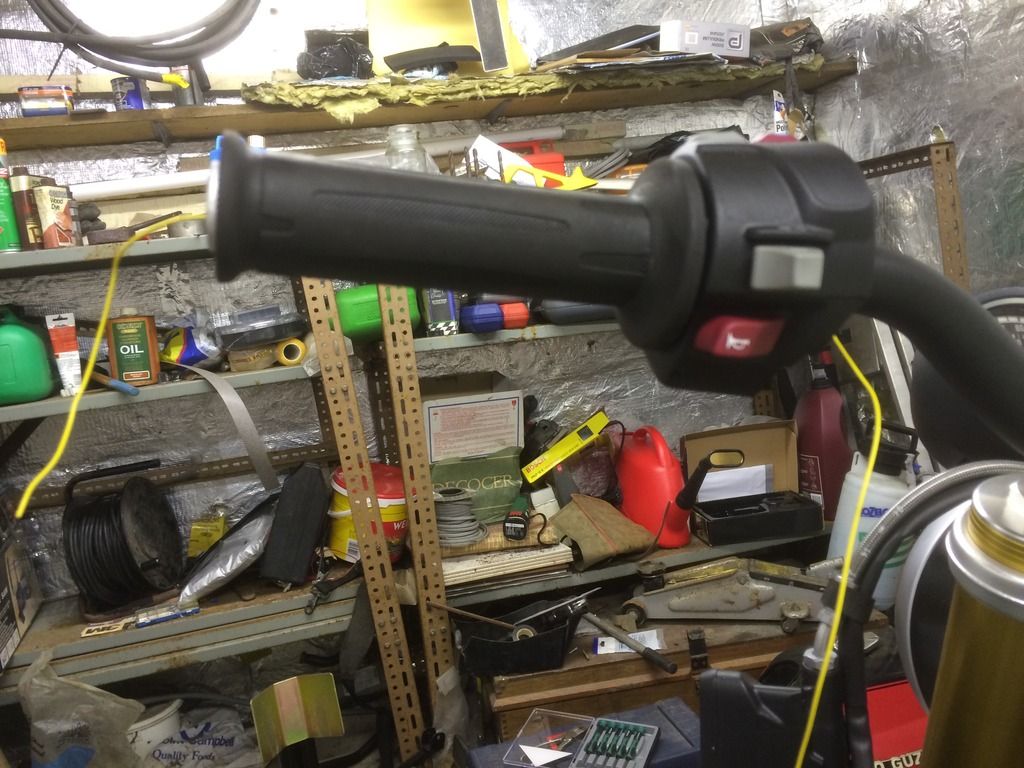
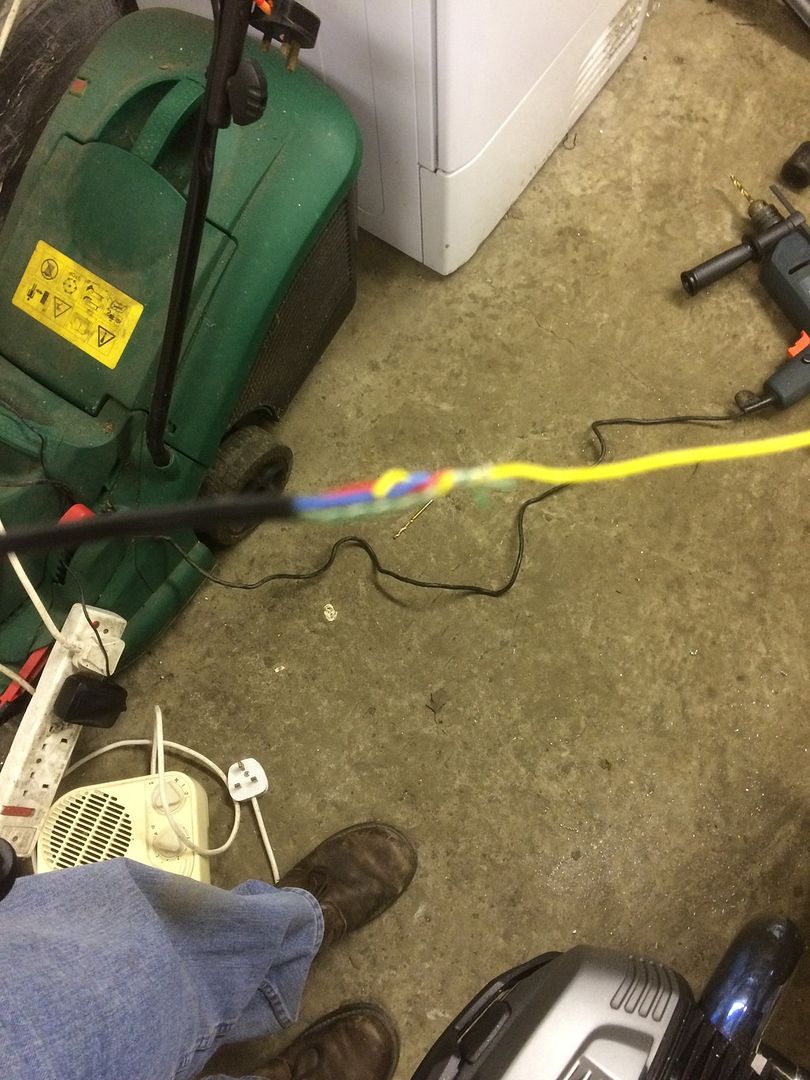
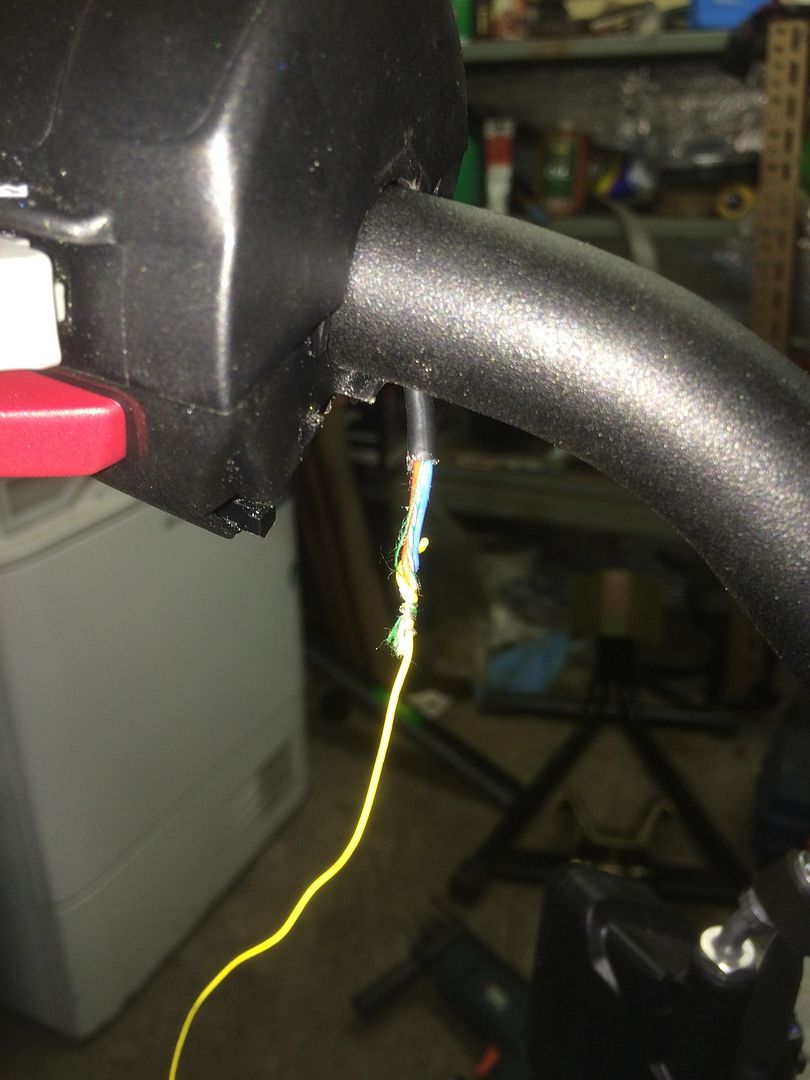
4. To feed the indicator wires through the bar I twisted the wires from the indicator round the wire core of the pilot wire.


Then I carefully pulled the wire through the handlebar and out of the hole the other side of the switchgear......


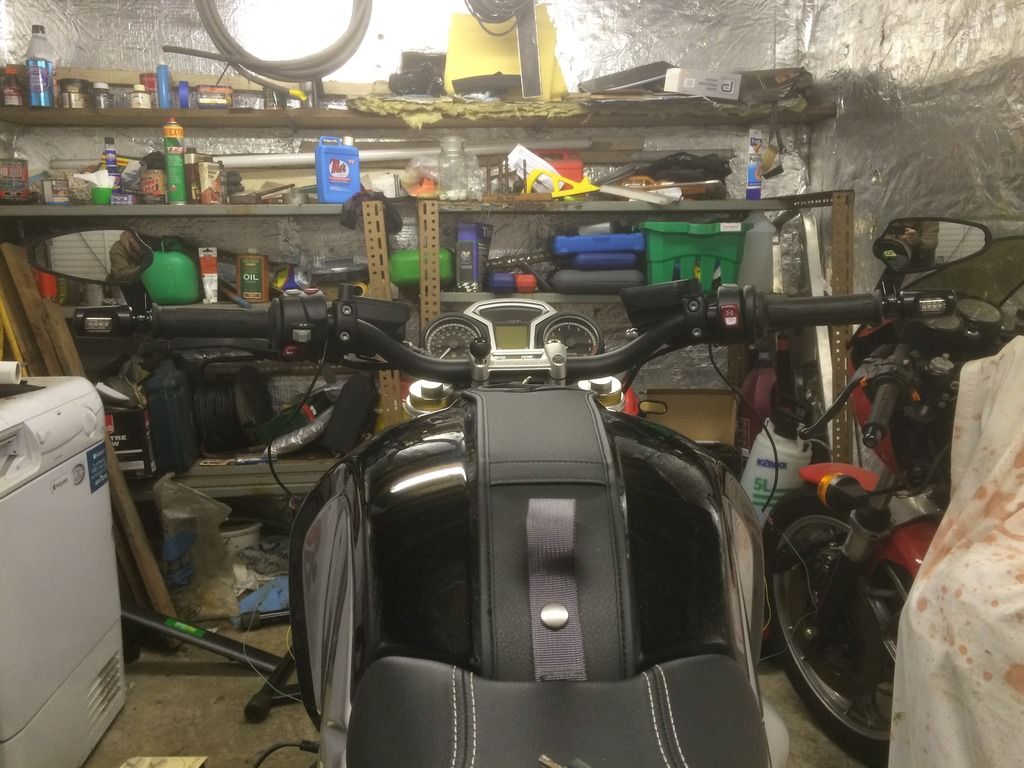
5. That's the majority of the work done. All that remained for me to do was extend the indicator wiring and connect it to the wiring harness indicator outlets. I used a Rizoma indicator plug part so that I could plug into the standard wiring harness socket. There is a BMW equivialant part too (see earlier in this thread for details). So a bit of soldering and heat-shrinking later and the job was done. Here's a pic of the job nearly completed. You can see that the wiring is still hanging loose and waiting for being cable-tied to the bike. The control brackets and indicator orientation still needed fine tuned too.... I'll post pictures of the work later, but it essentially shows the finished look. :)

 
Thank you, I'm not planning to trade-in my girlfriend anytime soon..... ;)

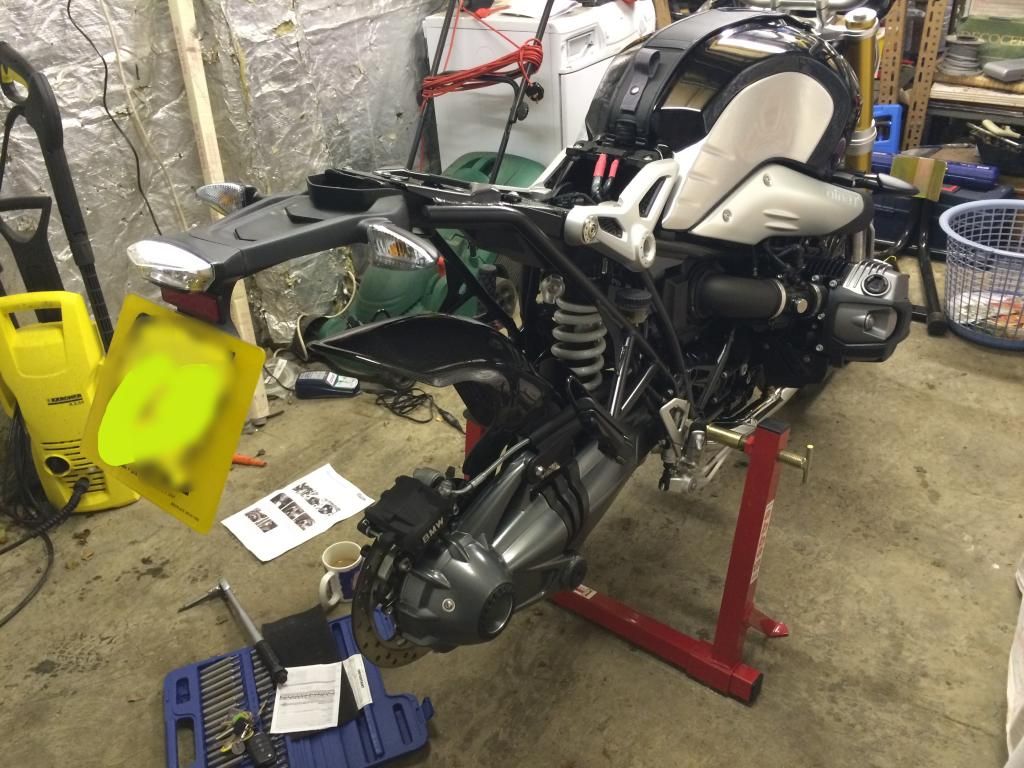
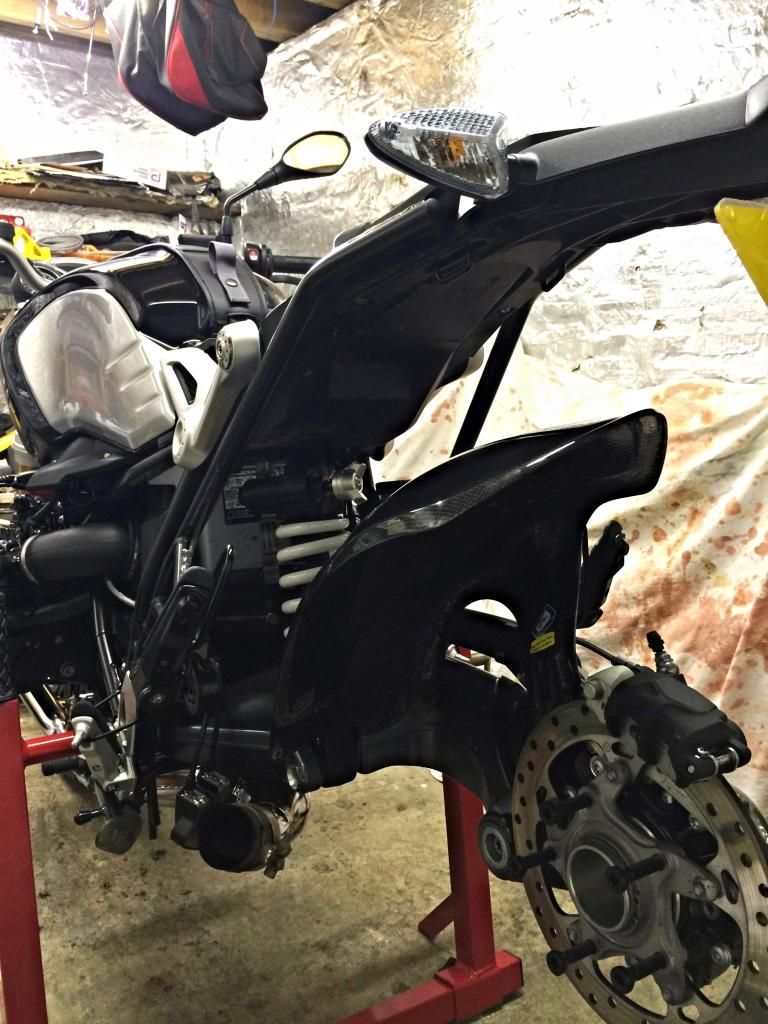
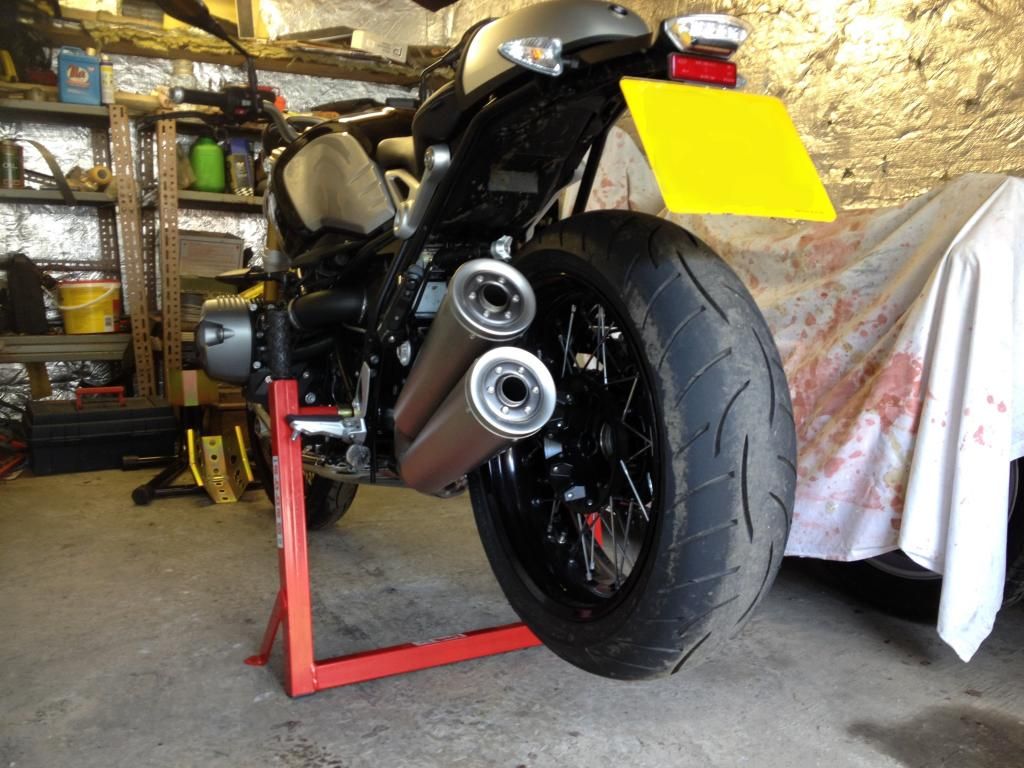
The stand is great value for money and easy to use. You have to order one for an R1200R but it just fits. I would recommend you create loops to "tie up" the rider footpegs as they come very close to the stand when using it. I used 2 cable ties to create the correct diameter of loop for each peg and keeep them hung drom a nail in the garage! They work a treat and take 30 secs to install both! Can be reused infinitely! The rear of the bike is jacked up high (about 6") and if you use a scissor jack under the front of the engine you can have two wheels in the air at the same time!

I'll try posting a couple of pics below:


Here's a link to the manufacturer's web site:

Superbike Stand - Abba Stands, UK

Hope this is useful to you. :)
Lovely Guzi.

How do you lift the rear end to get the stand in place and did you have to buy the accessory pack? Did I miss something obvious, it is late!
 
Discussion starter · #70 ·
Lovely Guzi.

How do you lift the rear end to get the stand in place and did you have to buy the accessory pack? Did I miss something obvious, it is late!
There is an adapter that fits onto the swingarm pivot on the left of the bike and the stand utilises the swingarm pivot nut on the right. You have the bike on the side stand and install the super bike stand on the mounting points. Then you tip the bike upright and haul on the extending lever and the bike pops right up!

Here's a video!

https://www.youtube.com/watch?v=LQJPBPxpYs4

Cheers!

Dave
 
Discussion starter · #71 ·
Hint for plugging in the clutch side wiring to the switchgear

Should have mentioned that it is a real pig of a job to plug the wiring connectors back into the clutch side switchgear if the switchgear is bolted in position, meaning you have to struggle away under the bar trying to plug in fiddly connectors (especially the heated grips).


Unbolting the switchgear and rotating it on the bar so you can easily see the connectors (I rotated the switch so the connectors were facing the front of the bike) makes connection much easier!


Remember to put the bolt back on when finished! :D ;)


Hope this helps...
 
Discussion starter · #74 ·
Shiny new Levers!

Have you ever thought you were finished a job only for something completely unplanned for to jump up and bite you right on your bum? Well it happened to me!

Here was me thinking that the handlebar transplant and indicator work were the last mods for this riding year (yep I'm optimistic, eh?) when the 9T had other ideas! I'd checked on the brake side that the levers, indicators and mirrors fitted before the drilling started, and they all went together fine. The stock levers looked a bit cheap to me but I was going to live with it till the winter came round.

So I drilled, bolted, soldered, shrink-wrapped and cable tied everything together and checked everything was lined up perfectly - GREAT. :) Check the brake lever - yep works perfectly! OK, just the clutch to do and.......oh bugga!!!!! The clutch lever pulled back and hit right off the newly installed bar end mirror stalk! :| No amount of repositioning was going to properly fix this one as the stock levers were just too big!

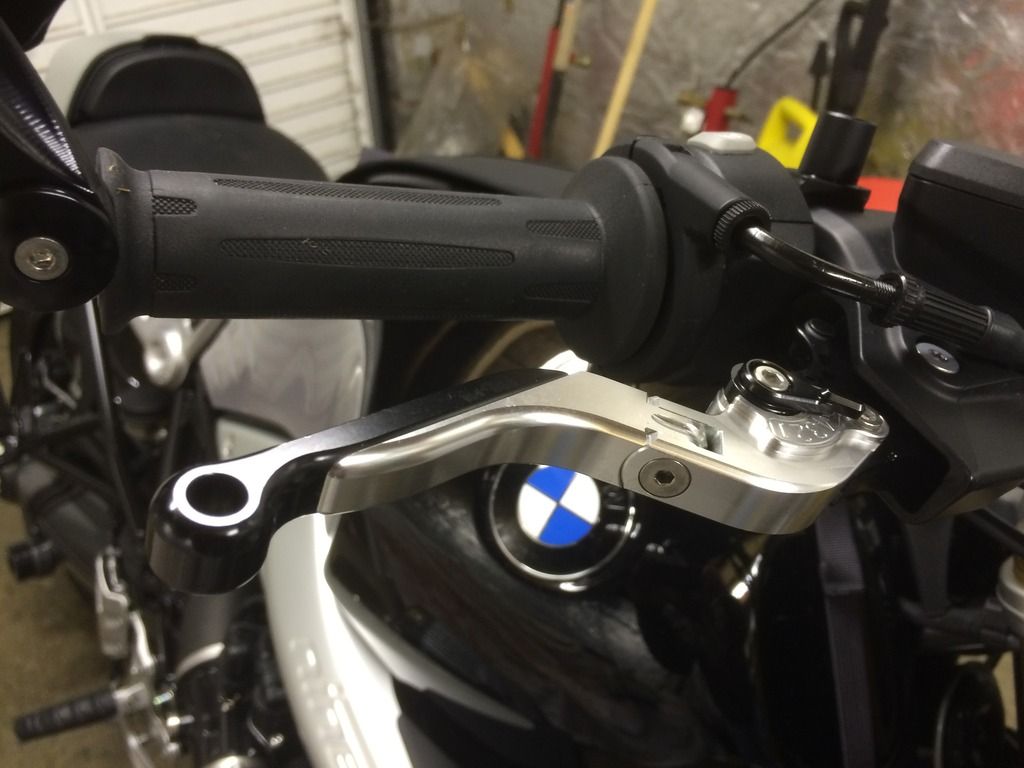
So as you all now know (if you've read this thread) I was forced into an unexpected extra spend. Kind of a blessing in disguise though, as I found a pair of levers on eBay for ÂŁ57 a PAIR. I was a little suspicious as to the quality but heck they looked good in the photos! So I gambled a little and pushed the BUY button. A week later and I had them and BOY what a pleasant surprise. The levers look fantastic in the flesh (pictures don't do them justice) and appear very well made - especially for the price. Probably not QUITE as good as the ÂŁ280 a pair Rizomas but heck not far off... At at almost a sixth of the price, I'm not complaining!

Here are some photos, make your own minds up!


The install went very straightforward for the clutch side. Unbolt the clutch lever fulcrum pin. pull the lever out of the ball/socket joint (sharp tug needed). Undo the grub screw and count the number of threads before showing before unscrewing the pushrod for use on the replacement lever. Install pushrod on new lever, set to same amount of showing threads before fine tuning free play and then tightening grub screw. Simple!

Then I moved to the brake side. Easy enough to remove the stock lever and I counted the threads showing on the push rod (see pic below)


However then I hit a big problem. No matter how hard I tried the grub locking screw just wouldn't come out! Like the clutch side I had carefully removed all traces of the orange gunk that had been used to fill the grub screw hex head so that the t-handled allen key driver would get a great purchase. I ended up twisting the shaft of the allen driver I was trying so hard!!! :(

I took the lever to my work, tried heating it (being mindful of the plastic sheath round the pushrod pivot) freezing it, and even used my strongest cursing on it, but it simply wouldn't budge! I ended up borrowing a professional allen driver socket bit set from a work colleague, clamped the lever in a vice, installed a 12 inch extension on the allen bit, and a determined two-handed pull finally got the grub screw to move! Sheesh! BMW really didn't want this wee screw to ever come out again!

Thankfully the grub screw was completely undamaged, but you could see it had been completely caked in red high-strength loctite. I'm using a small amount of medium strength stuff to replace it... ;)

Still, all's well that ends well. Here are some pics of the completed job.


  • Like
Reactions: Ken.B.
Discussion starter · #76 ·
Done and dusted for this year.... (Famous last words!)

So now that the riding season is stuttering into existence up here in Scotland, the modding season draws to a close (fingers crossed!).


The handlebar and associated handlebar goodies marked the final serious planned modification of the year so unless I see something very nice on here or someone makes me an offer I can't refuse I'm going to concentrate on riding rather than spannering.


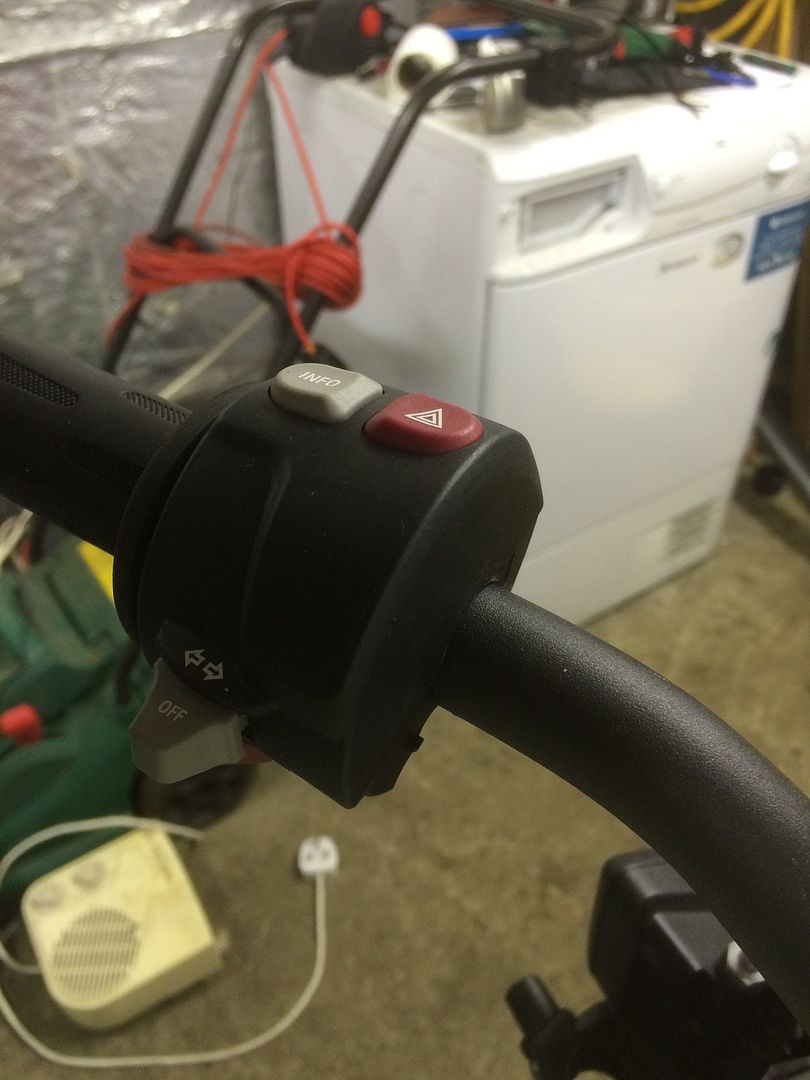
Here are a few shots of the finished handlebars and attached bling!


You know we are going to have to find a solution to the holes where the stock mirrors were!
 
Yeah I have an idea on that one....

Aaaaargh, what am I saying???? [emoji6]
Haha that's got you thinking, and you were just contemplating putting down the tools....
 
61 - 80 of 661 Posts