
Well here's what I'm getting up to in my den this winter. The weather is officially shitty and my bike has been tucked away in semi hibernation for a month now. Time to amuse myself and start bolting on bits that I'd been gathering since buying the bike, but couldn't stop riding it for long enough to fit. ")
Firstly I added some BMW cam cover protectors....

Not bad for £80 the pair. Won't be worth sh1t in a high speed tumble but will help in low speed tips...
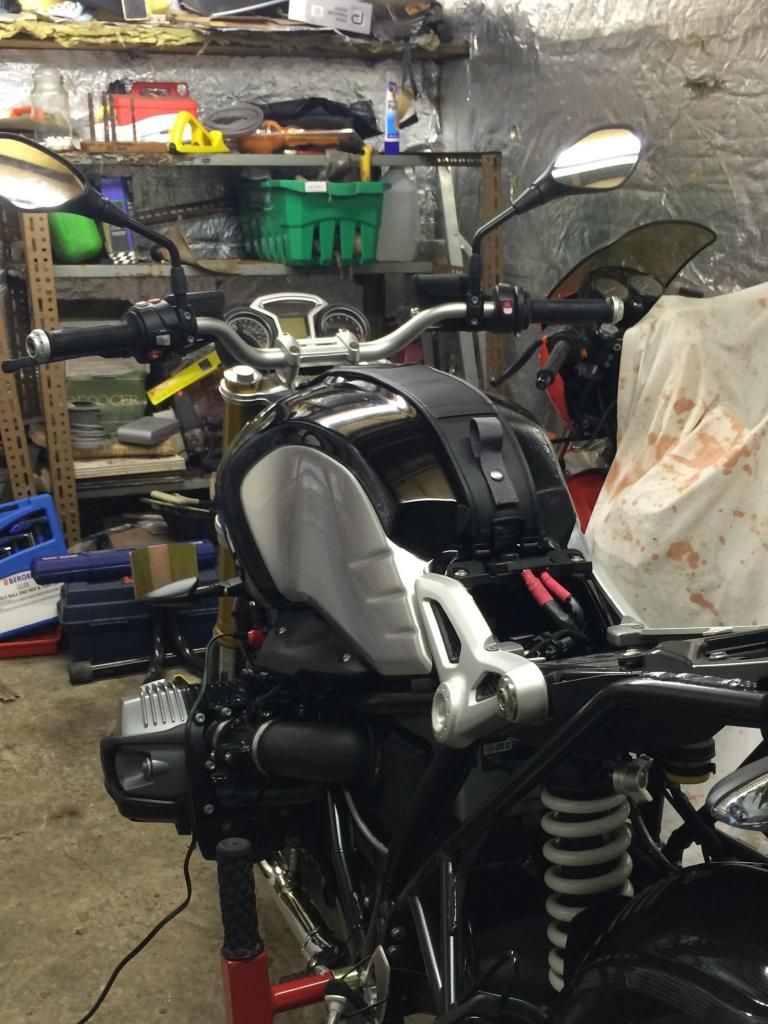
Next up was fitting the BMW tank bag harness... Very easy and the harness looks good enough to leave on the bike without the bag. Added bonus is that the harness will help protect the tank and save me buying a tank protector.
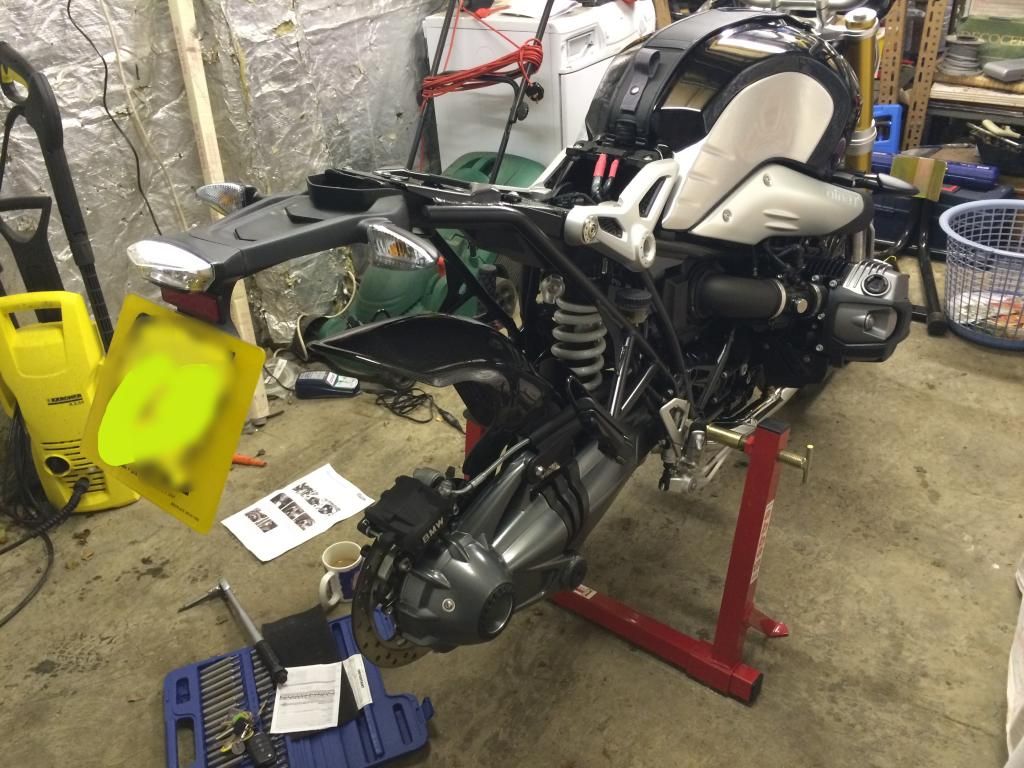
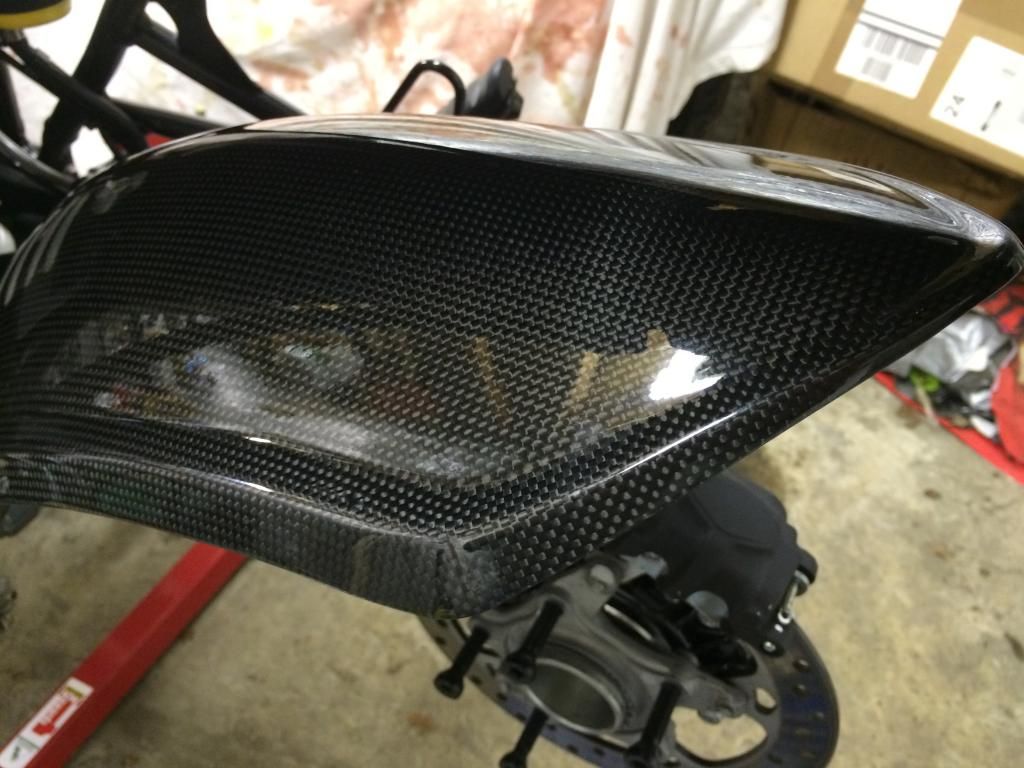
Now for the expensive part! Ilmberger carbon fiber Hugger!
An easy enough install once the silencer and rear wheel is removed, but I was uneasy with simply using the bolts provided with the Hugger as the bolts that came off the rear bevel drive had large captive washers on them, so I used some that I had in the garage. Took it nice and steady torqueing up the bolts to the required value given by Ilmberger, and there were a few creaks of complaint from the hugger as I neared full tightness. Sweaty palms time! lol
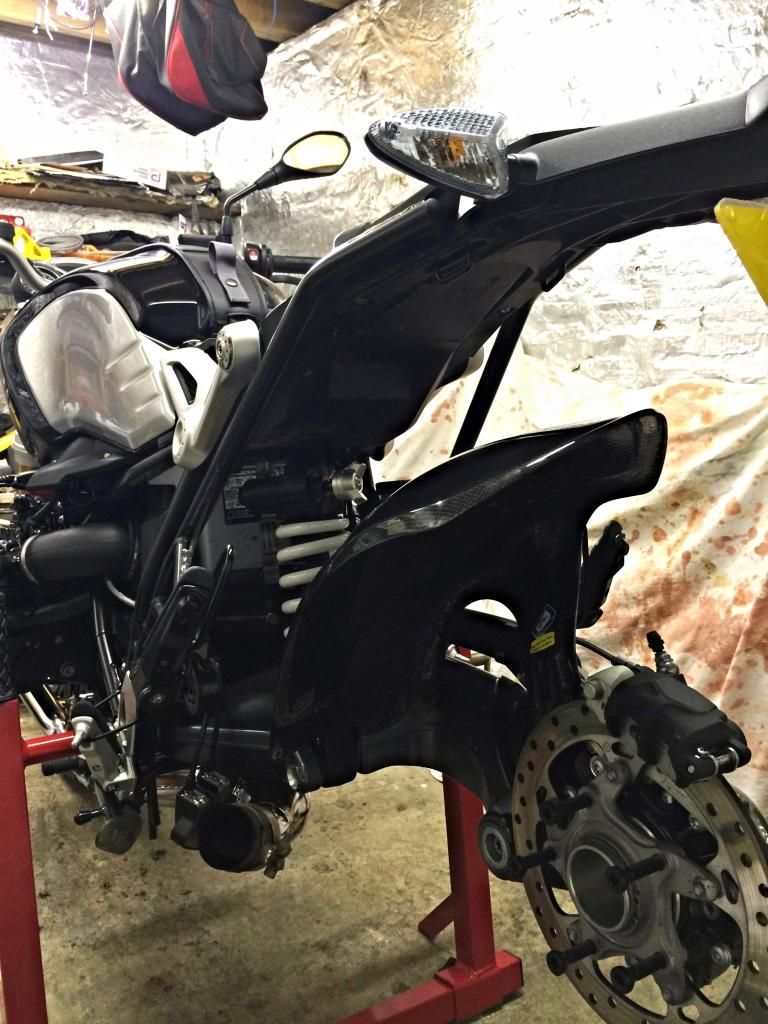
MMMMMMMMMMMM.....Carbon fiber goodness!
Very happy with how the bike looks so far.... Now waiting for the Motobox LED tail tidy before ditching the exhaust flapper valve and bolting the rear wheel and silencer back on.
Oh and I managed to find a use for that ugly diving board at the back of the bike before the tail tidy arrives....
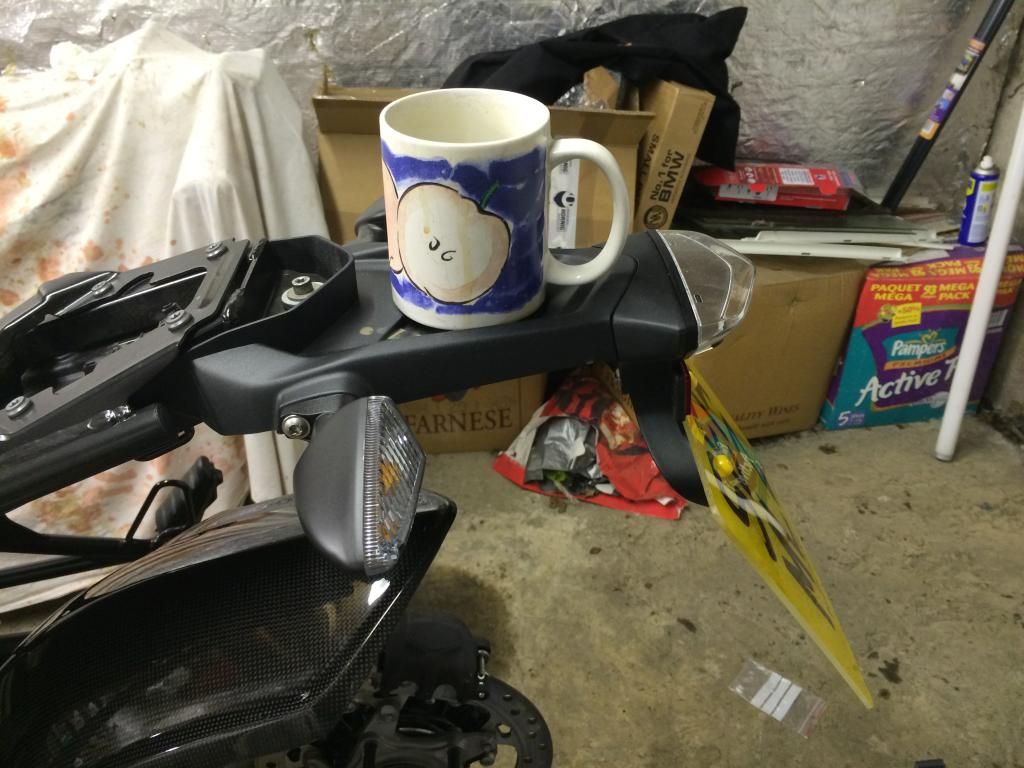
Will add to this thread when the Motobox bits arrive... .Stay tuned!
Firstly I added some BMW cam cover protectors....

Not bad for £80 the pair. Won't be worth sh1t in a high speed tumble but will help in low speed tips...
Next up was fitting the BMW tank bag harness... Very easy and the harness looks good enough to leave on the bike without the bag. Added bonus is that the harness will help protect the tank and save me buying a tank protector.

Now for the expensive part! Ilmberger carbon fiber Hugger!
An easy enough install once the silencer and rear wheel is removed, but I was uneasy with simply using the bolts provided with the Hugger as the bolts that came off the rear bevel drive had large captive washers on them, so I used some that I had in the garage. Took it nice and steady torqueing up the bolts to the required value given by Ilmberger, and there were a few creaks of complaint from the hugger as I neared full tightness. Sweaty palms time! lol


MMMMMMMMMMMM.....Carbon fiber goodness!

Very happy with how the bike looks so far.... Now waiting for the Motobox LED tail tidy before ditching the exhaust flapper valve and bolting the rear wheel and silencer back on.
Oh and I managed to find a use for that ugly diving board at the back of the bike before the tail tidy arrives....

Will add to this thread when the Motobox bits arrive... .Stay tuned!


